- MIDEVIL -
"The Wing"
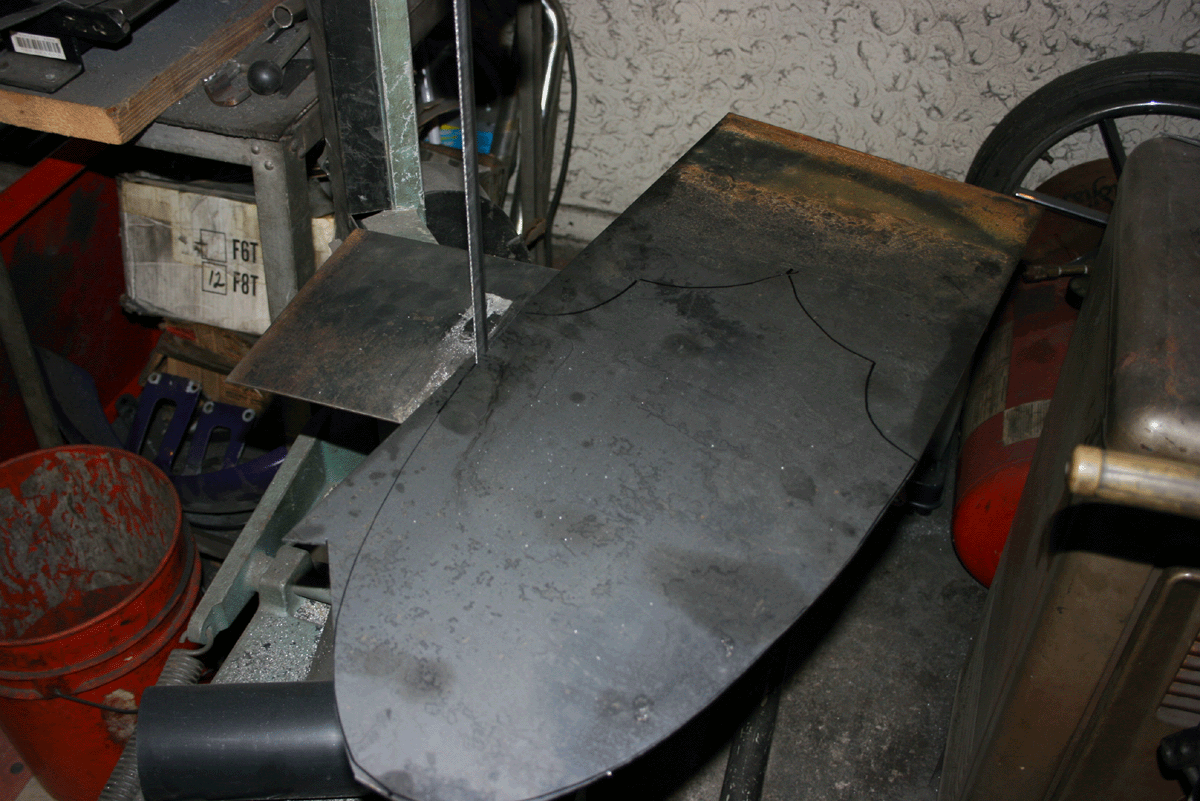
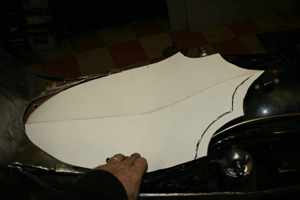
Well this week it has been sort of a change of something to build. Having done so much body work I decided to work on the seating. The seat pans have to be built and fitted so they are comfortable to sit in and yet be sunken in as Tim said he would like. Mounts have to be built and the seat itself had to be easily removable to access the gas tank. So make the template...cut...beat and pound.....presto...seat pan.


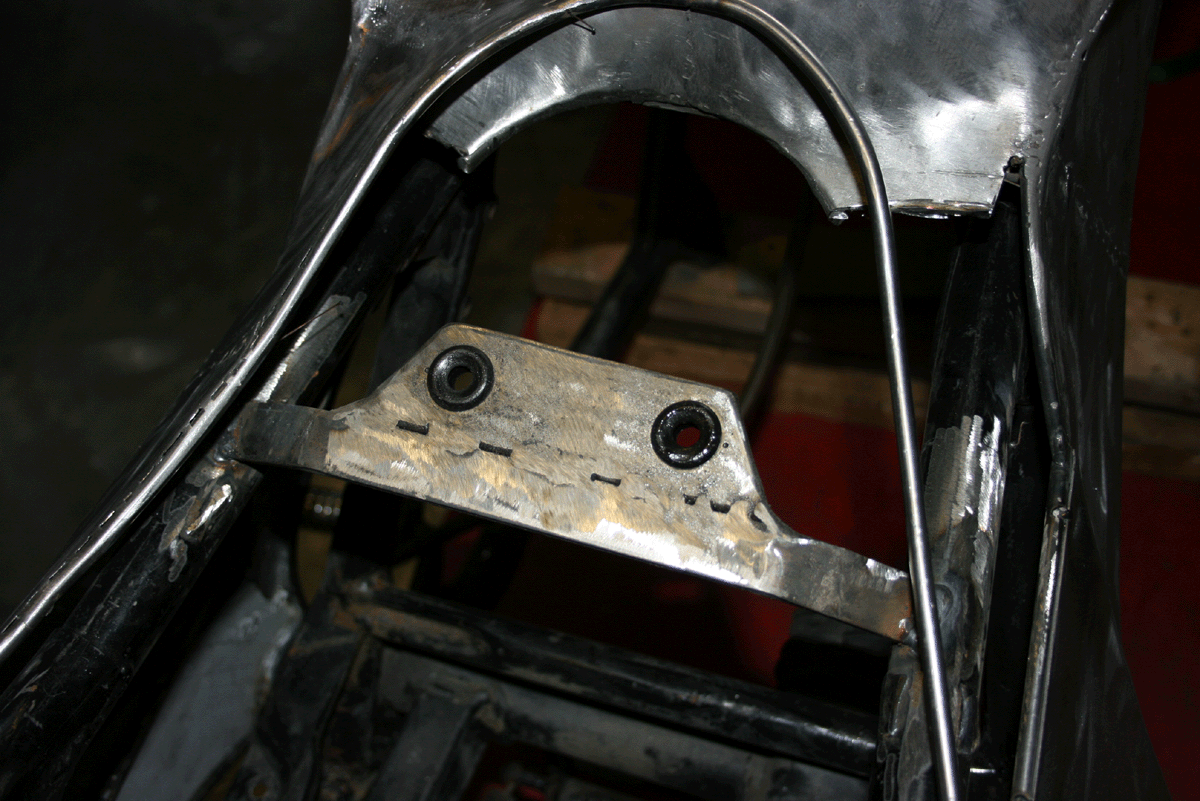
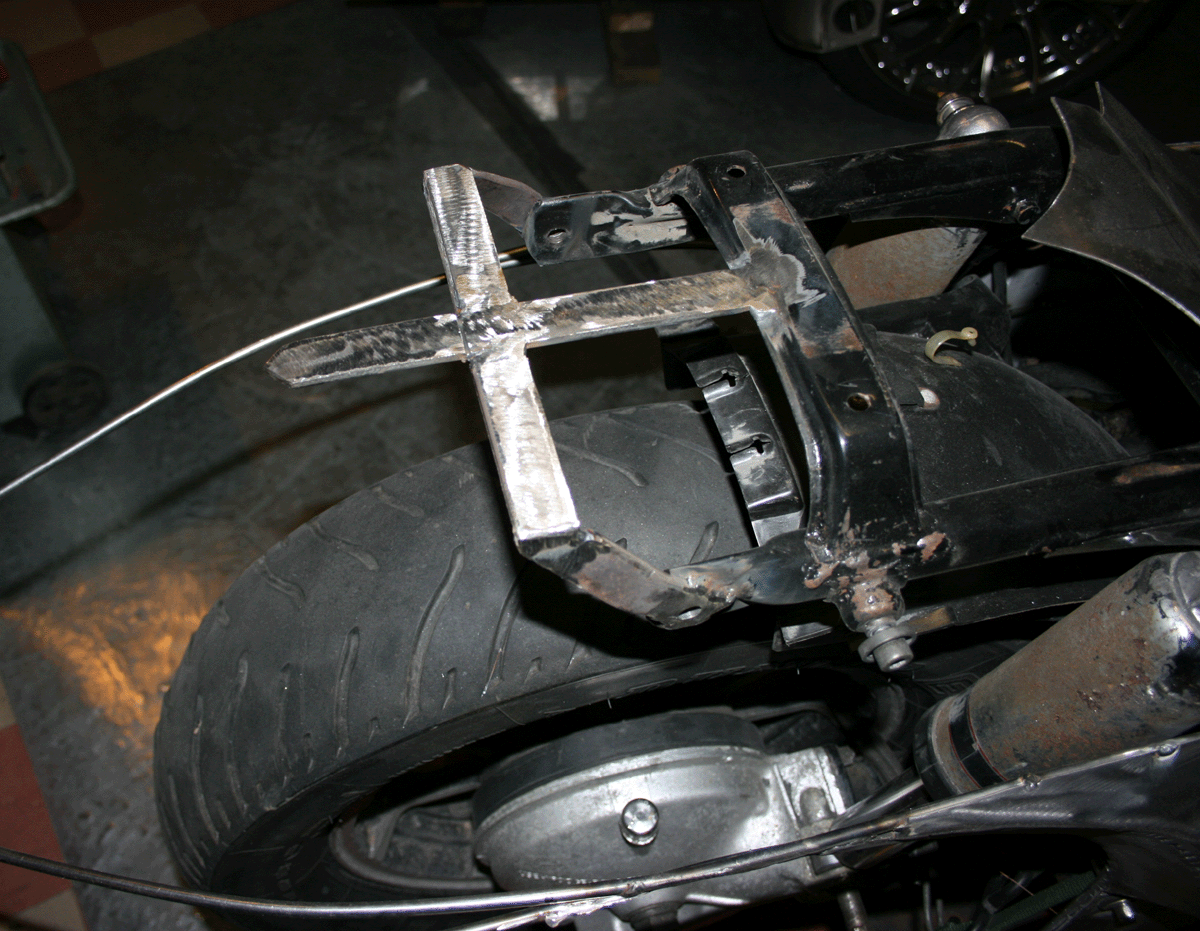
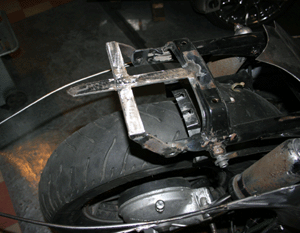
I fabbed up some front mounts for the seat pan and welded them in place. At the rear I made some mounts to sit on the existing frame rail. This way it would push into the rubber mounts and snap over the rail at the rear.


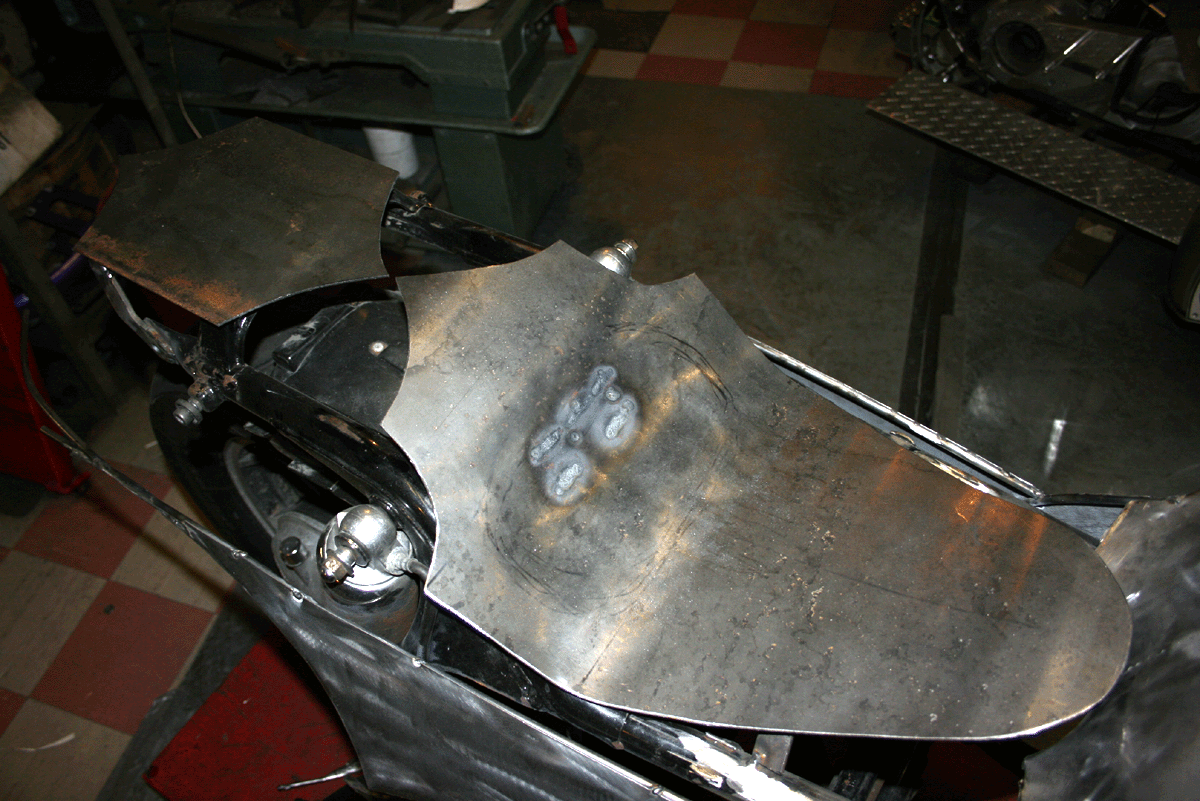
Weld on the the seat frame mounts and there we have it.


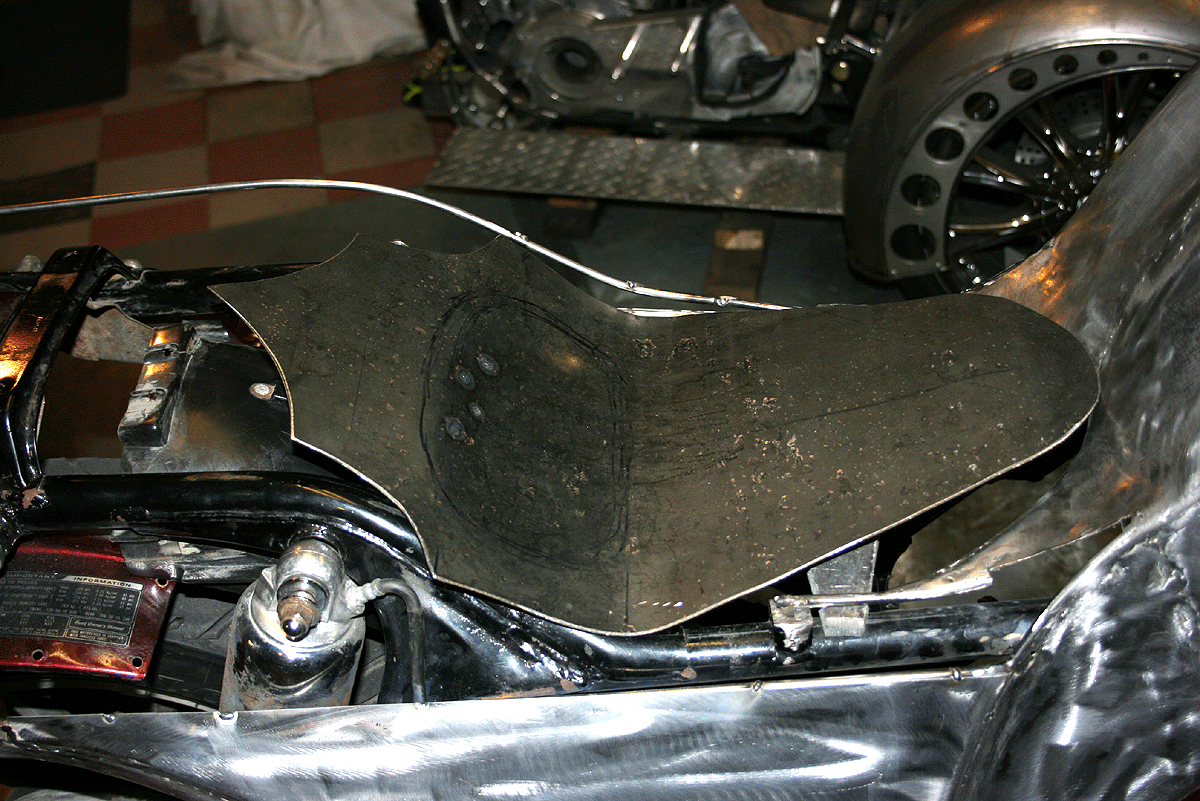
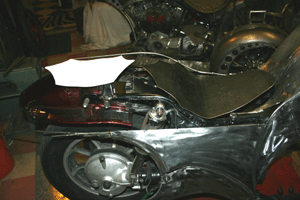
Now thats finished it was on to the rear. To follow the style of the bike the passenger seat was made to fit as well. Cut the template...cut the steel and position it to see how it will fit. Then I had to beef up the rear area so the seat would be supported and had its own mounts.
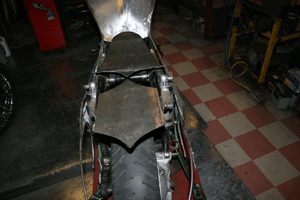
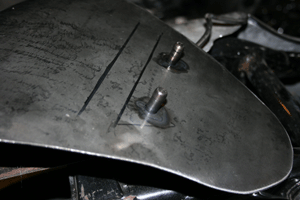
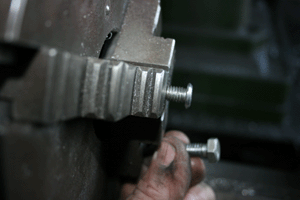
Back to the lathe to cut down some bolts to weld in place on the seat pan. This way the rider would never feel the bolts in the seat. Takes a few extra minutes but well worth it in the end. The rear seat will become a solid fixture on the bike and stay in place when the body is removed.


Page 1: And so it begins
Page 2: Sheet Metal Time - Tank
Page 3: Tank 2
Page 4: On to the Side Panels
Page 5: Finished Side Panels
Page 6: The Seat Pans
Page 7: Body trim around the Seat
Page 8: Body Mounts, Right Side, Start Tail
Page 9: The Tail Section
Page 10 Just one more Thing, small touches
Page 11 The Motor goes in...she gets her Name
Page 12 The Final Small Pieces to go
Page 13 The Front Fender
Page 14 The Seat Gas Tank and Seat
Page 15 Assembly Started
Page 16 The Body getting ready for paint
RACK
INDEX